Install the ESP8266 plugin in the Arduino IDE
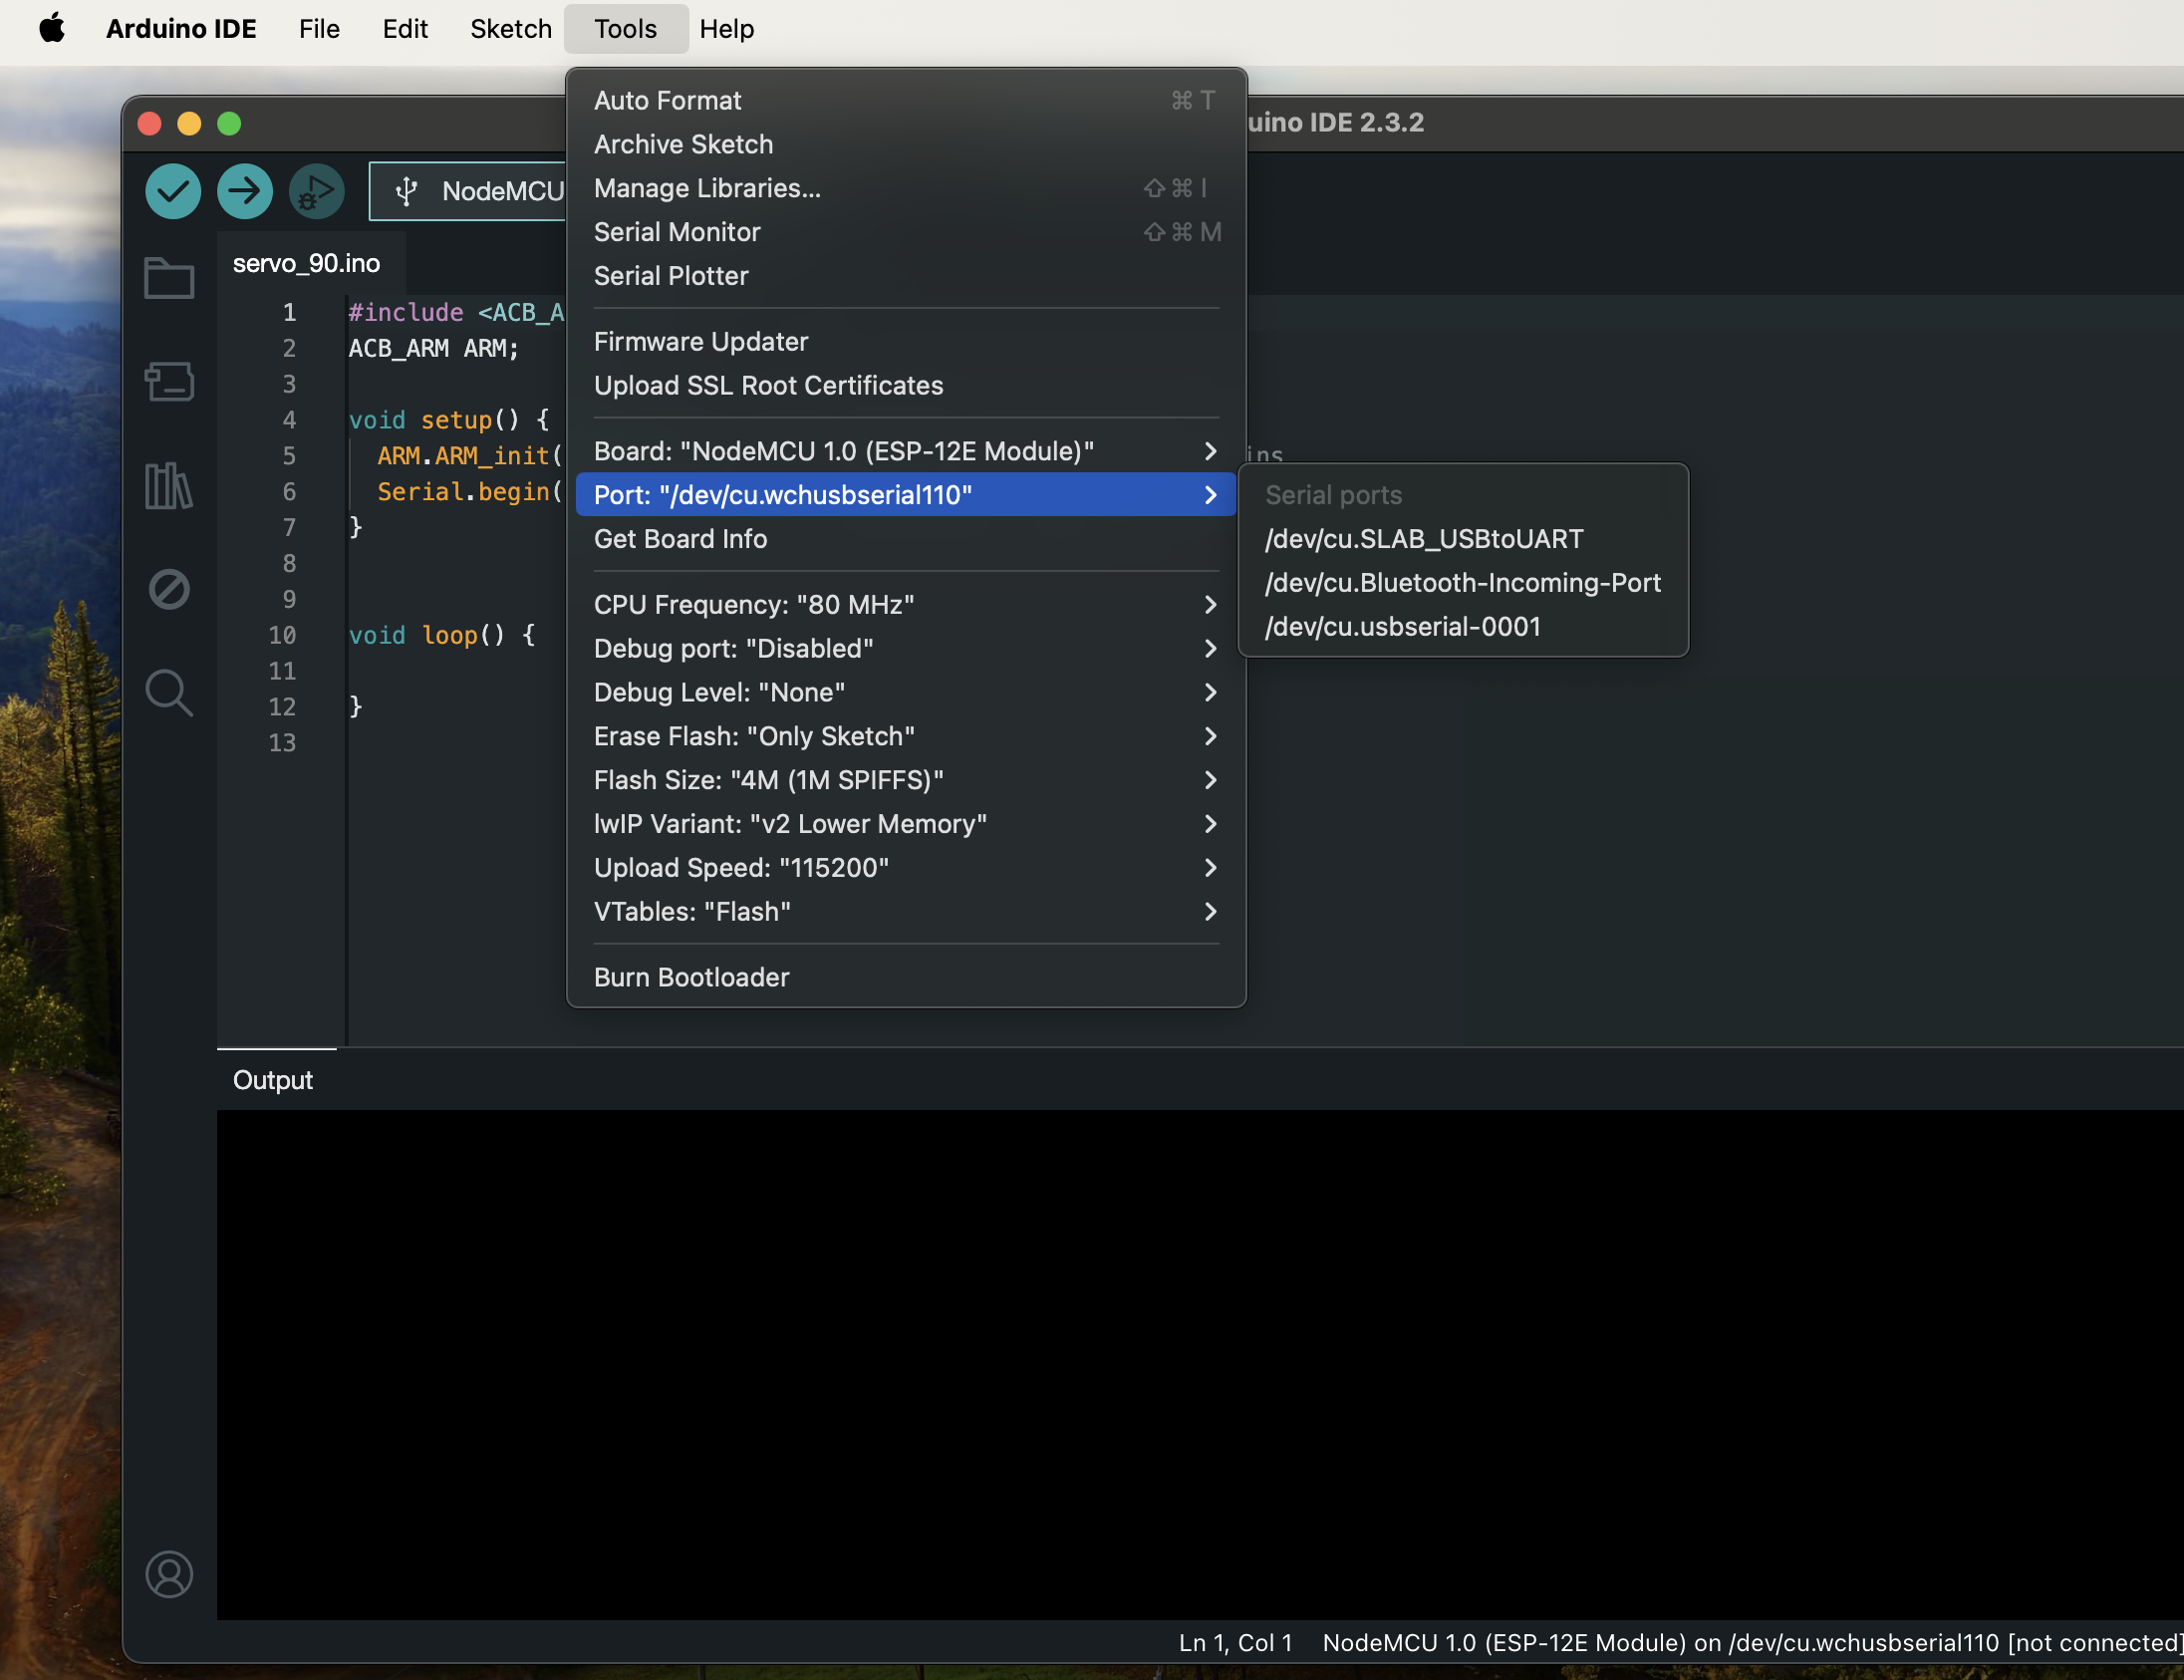
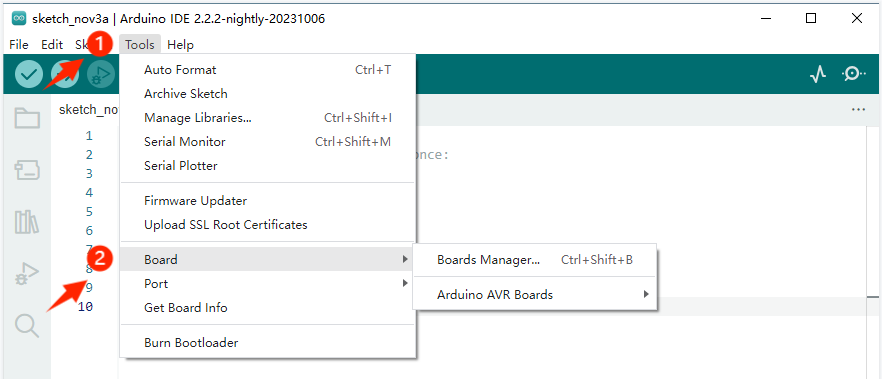
When you open the Arduino IDE, select Tools > Board, you will find that the Arduino IDE only has Arduino AVR Boards and no esp8266.
So we need to install the ESP8266 board in the Arduino IDE. Follow these steps:
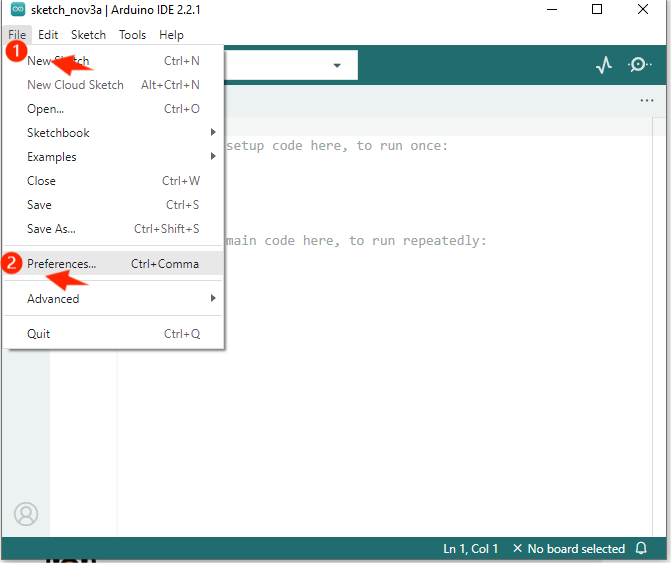
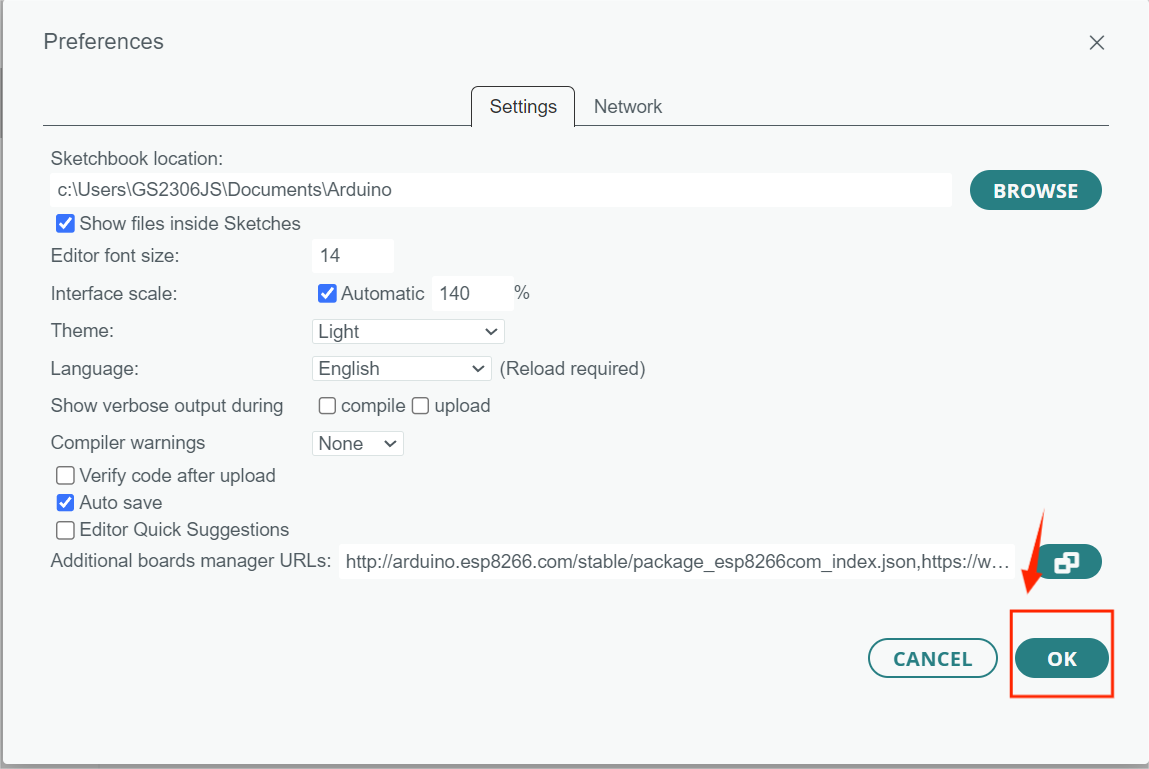
1.Open File >Preferences
2.Add the development board management address URL.
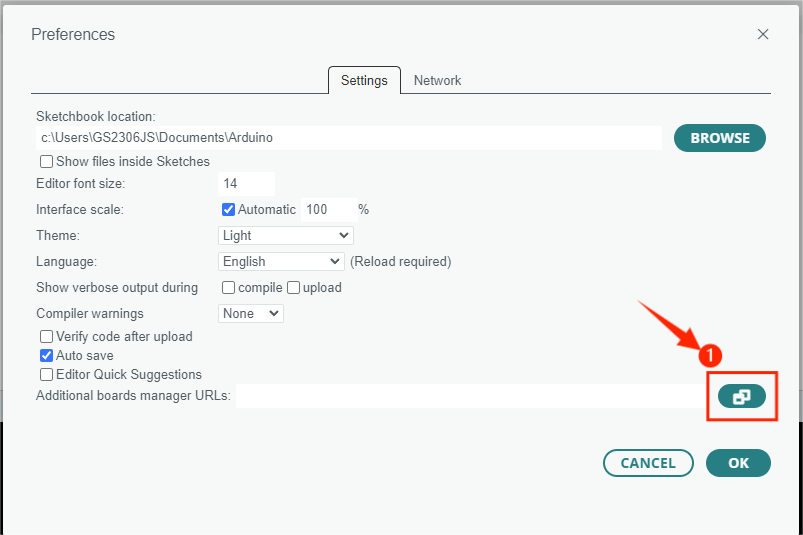
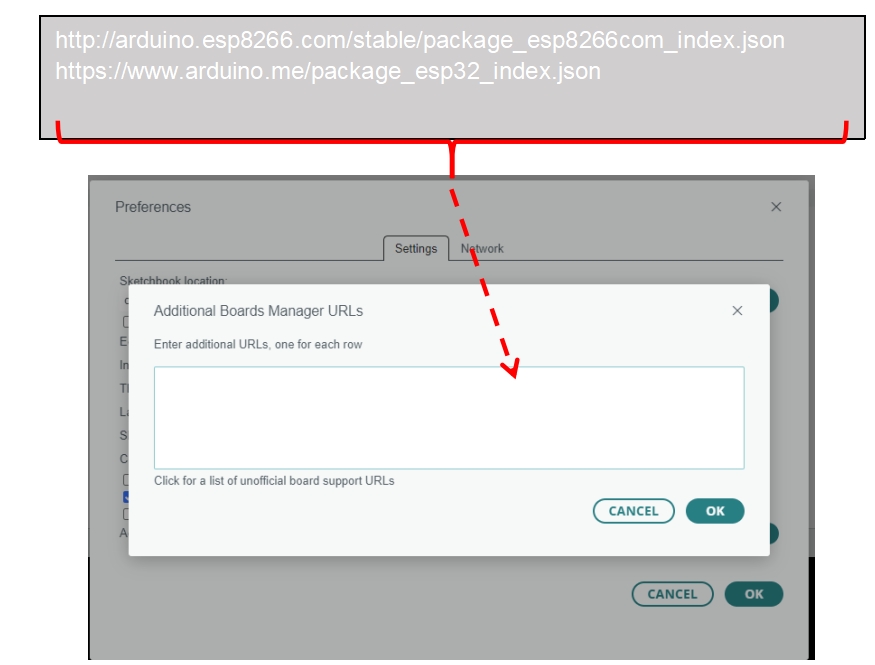
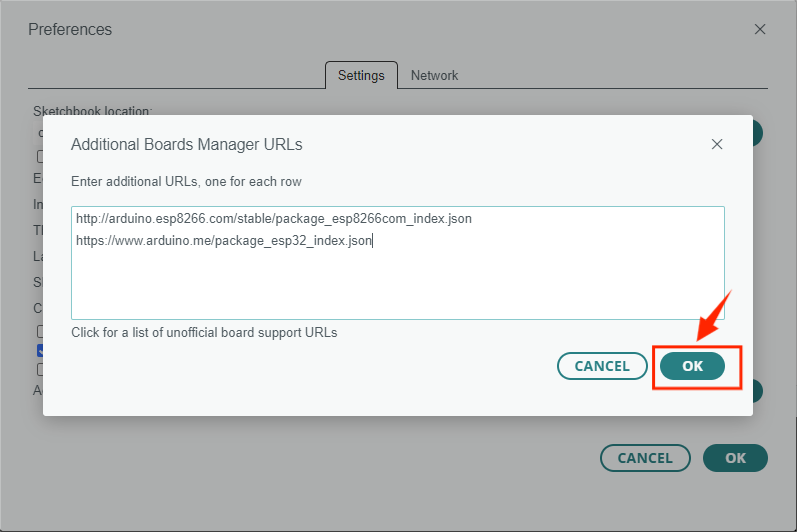
3.Copy the URL in the lower box and add it to the “Additional Boards Manager URLs”.
http://arduino.esp8266.com/stable/package_esp8266com_index.json https://www.arduino.me/package_esp32_index.json
4. After adding the URL, click “OK”.
5.Click Tools > Board > Boards Manager.
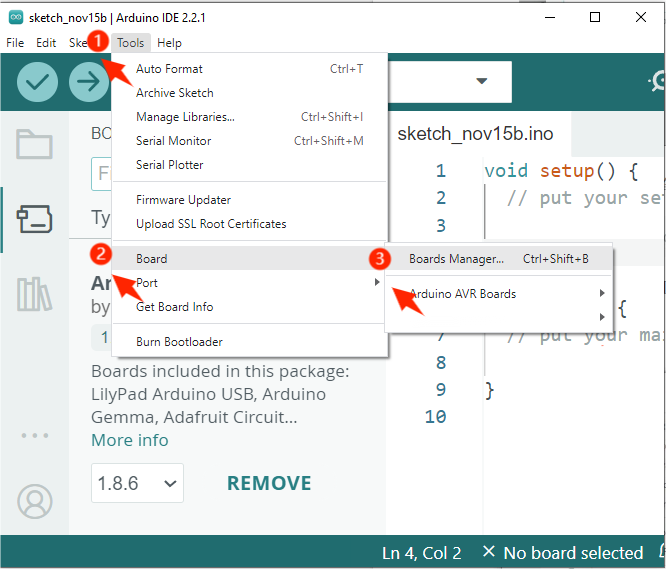
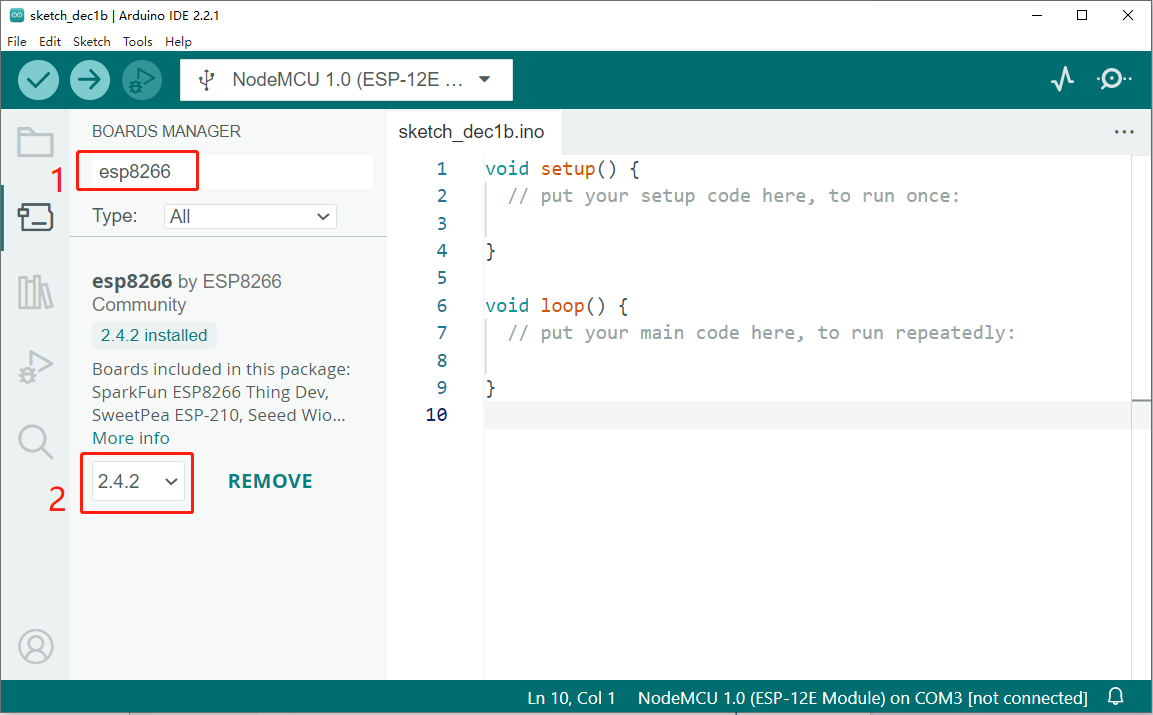
6.Search for “ESP3266” in the BOARDS MANAGER’s search bar and install it.
7.Please wait until the installation is complete and turn off the Arduino IDE.

8.Re-open the Arduino IDE and select Tools>Board, you will find that the esp8266 board appears.